I can’t say this out loud, but I’m not very good at DBE (Dynamic Background Extraction) and ABE (Automatic Background Extraction). DBE/ABE is the foundation of PixInsight. In baseball, it’s catching the ball. So a baseball player who is not good at catching the ball was writing an explanatory article.
But that was me until yesterday, when I became a better DBE (maybe…).
I can’t do ABE and DBE well.
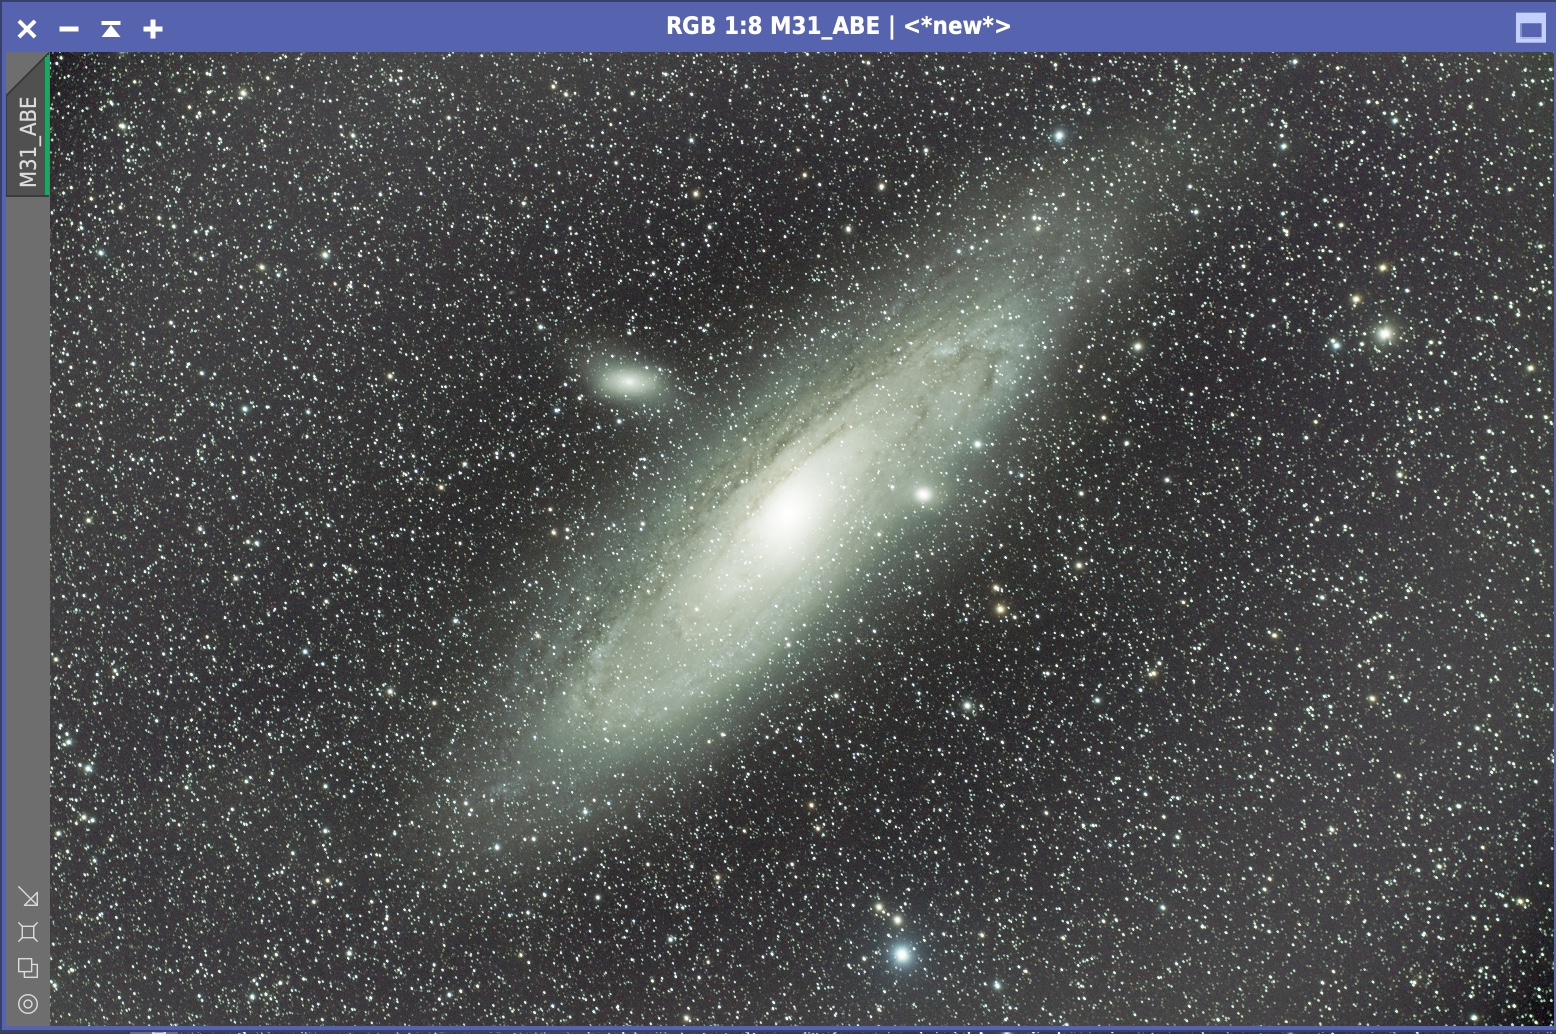
If I’m the only one with this problem…. I have never been able to get ABE and DBE to work. For example, the Andromeda Galaxy taken in the summer of 2020. As you can see in the image, the background is uneven on both sides.
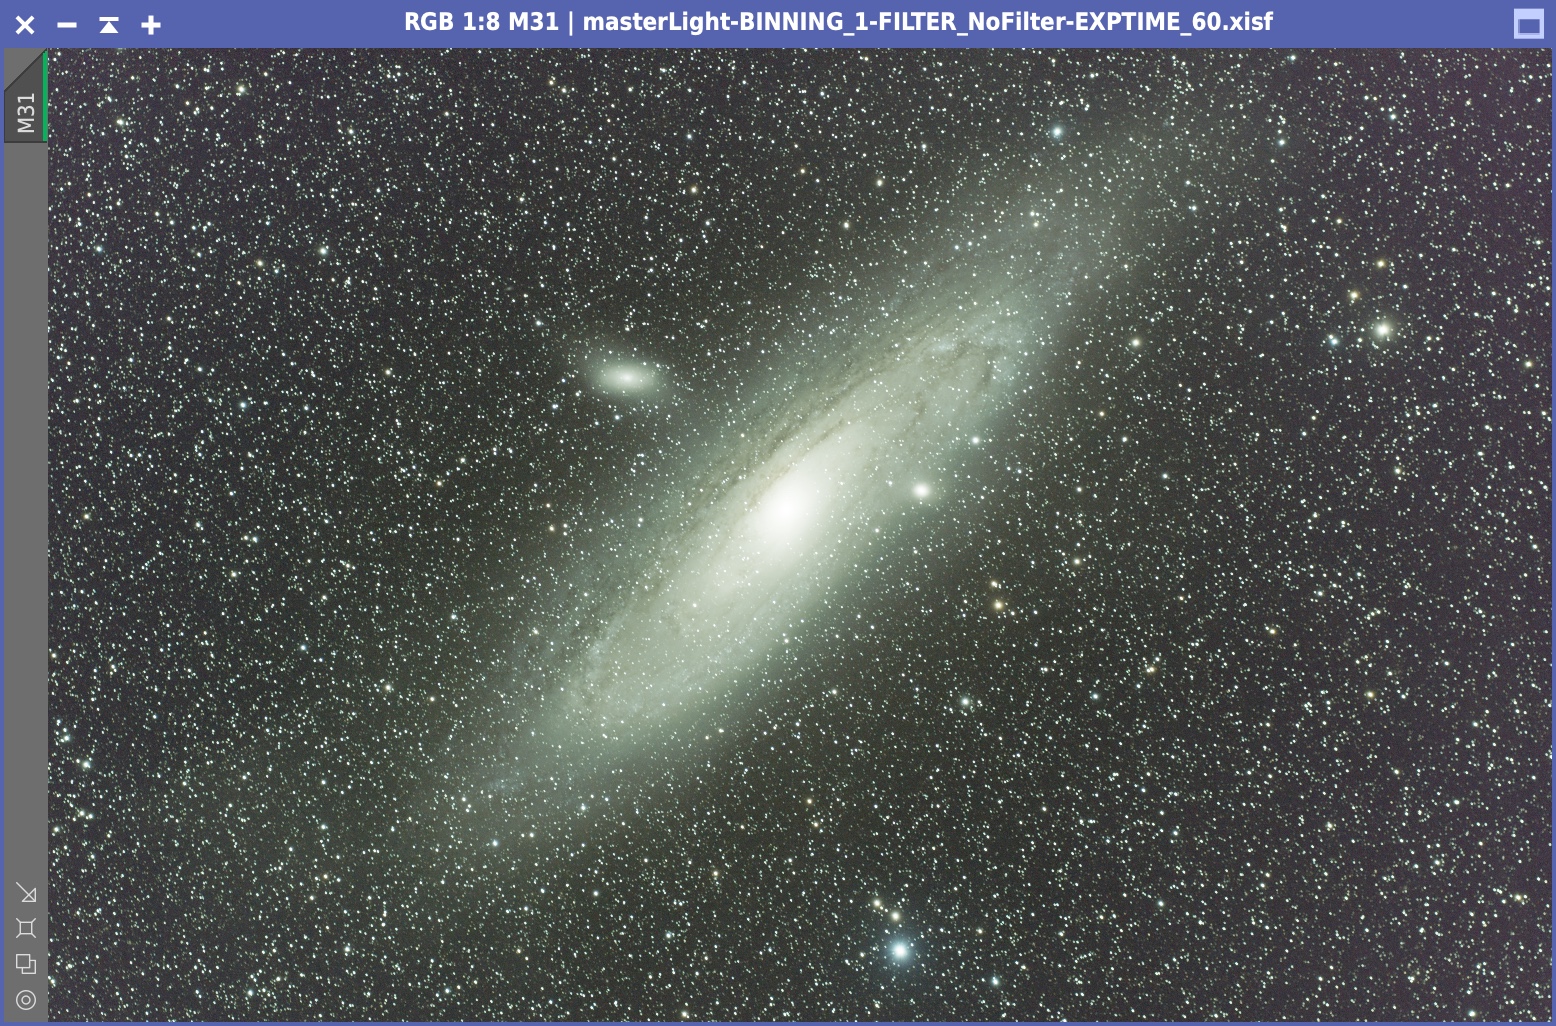
The ABE/DBE was skipped in the processing of this Andromeda galaxy. This is what happens when you apply the ABE.
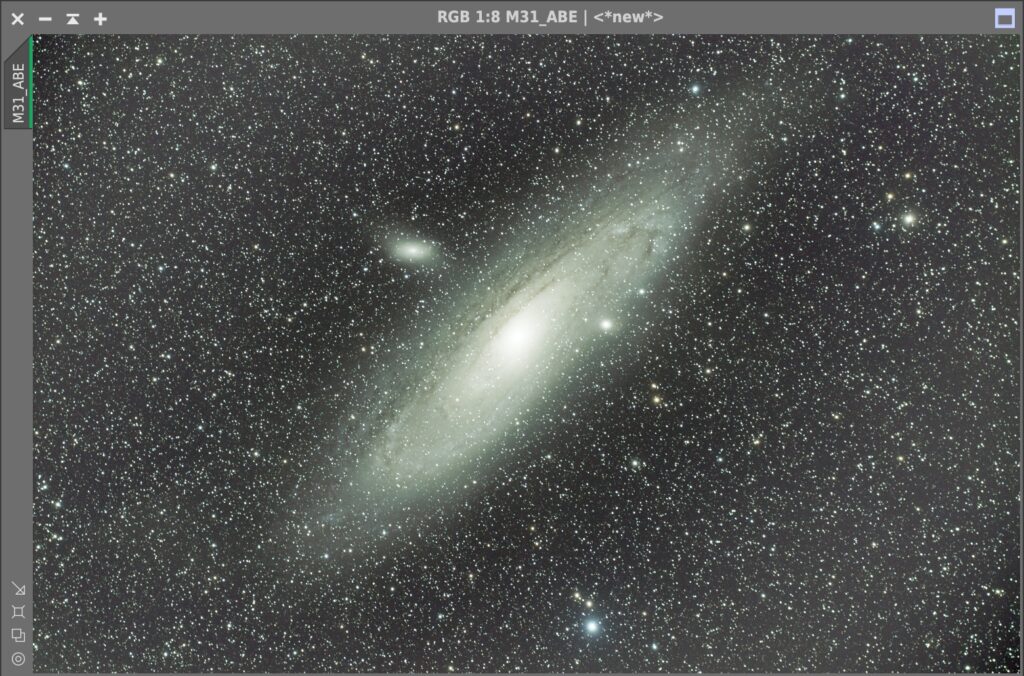
Please ignore the greenish color before color matching with PCC. You can see this more clearly in STF boost mode. This is the boost button.
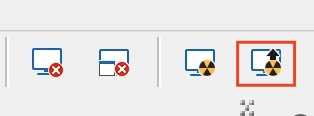
Let’s boost it.

You can see that the background is severely uneven in the shape of a doughnut; setting Function Degree to 1 may help, but in this case it does not have much effect.
I have no choice but to run the DBE.
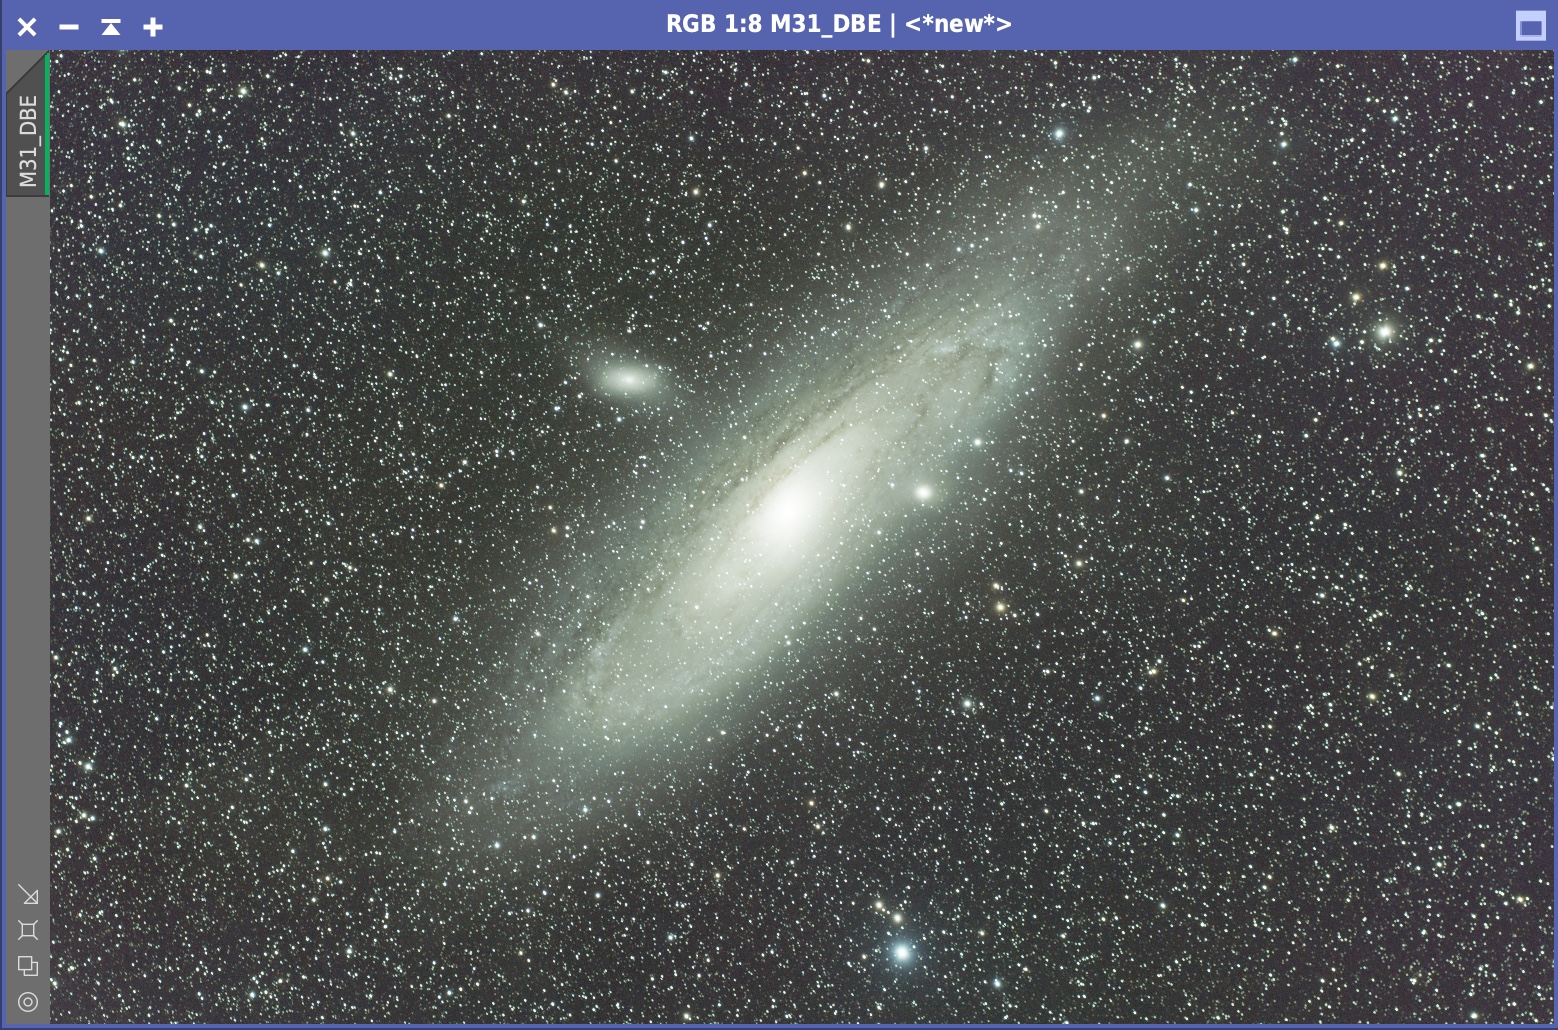
It’s a little better, but if you look at it in Boost mode…

The background is still very horny. This situation was occurring in images all over the place. So, as usual, I did an internet search and found a hint in Adam Block’s YouTube video.
Three parameters of DBE
This video explains how to use the Symmetries in the upper right corner of the DBE screen, which is uncharted territory for me, but what caught my attention were the parameters.
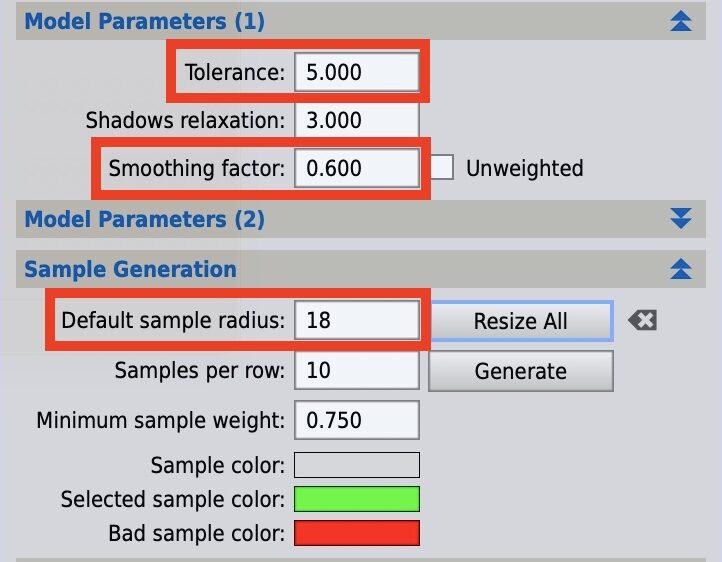
- Tolerance increased from 0.5 to 5.0 (really?)
- Smooth Factor increased from 0.25 to 0.60.
- Default Sample Radius changed from 5 to 18.
I’m not sure if I’m allowed to do this, but I’ll give it a try.
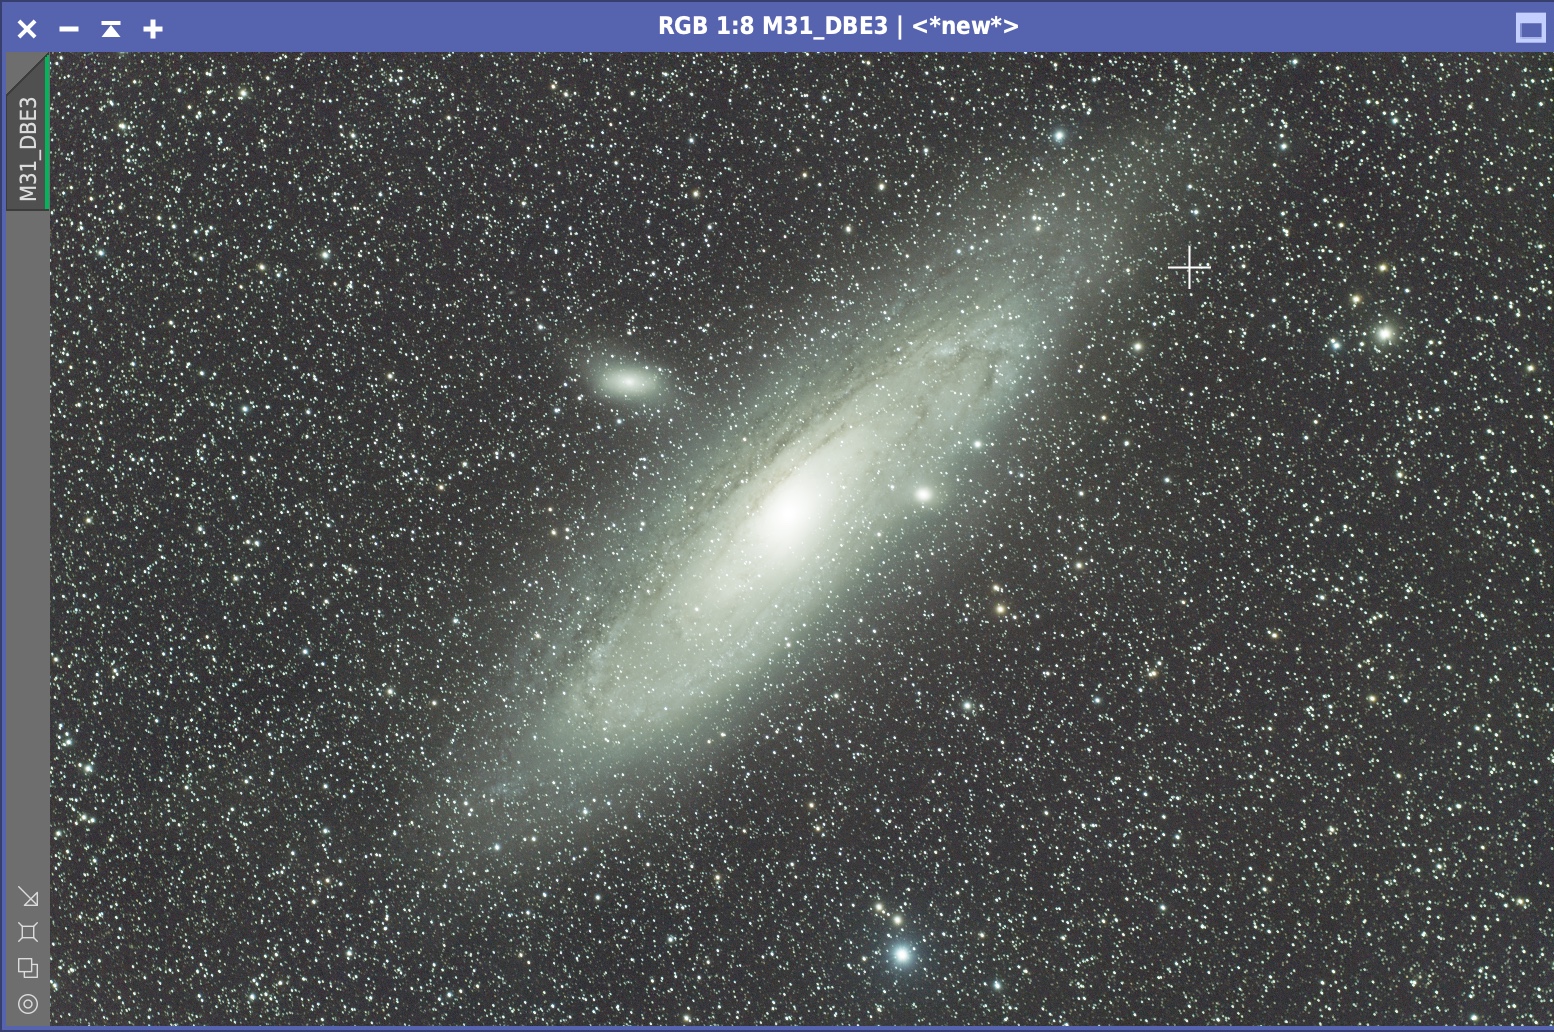
It’s good, isn’t it? (Again, the green cover is not a problem since I’ll do PCC afterwards.)

It’s not perfect, but it’ll get the job done!
Let’s try this with the Horsehead Nebula, which I photographed recently. First, here is the original, an L black and white image.
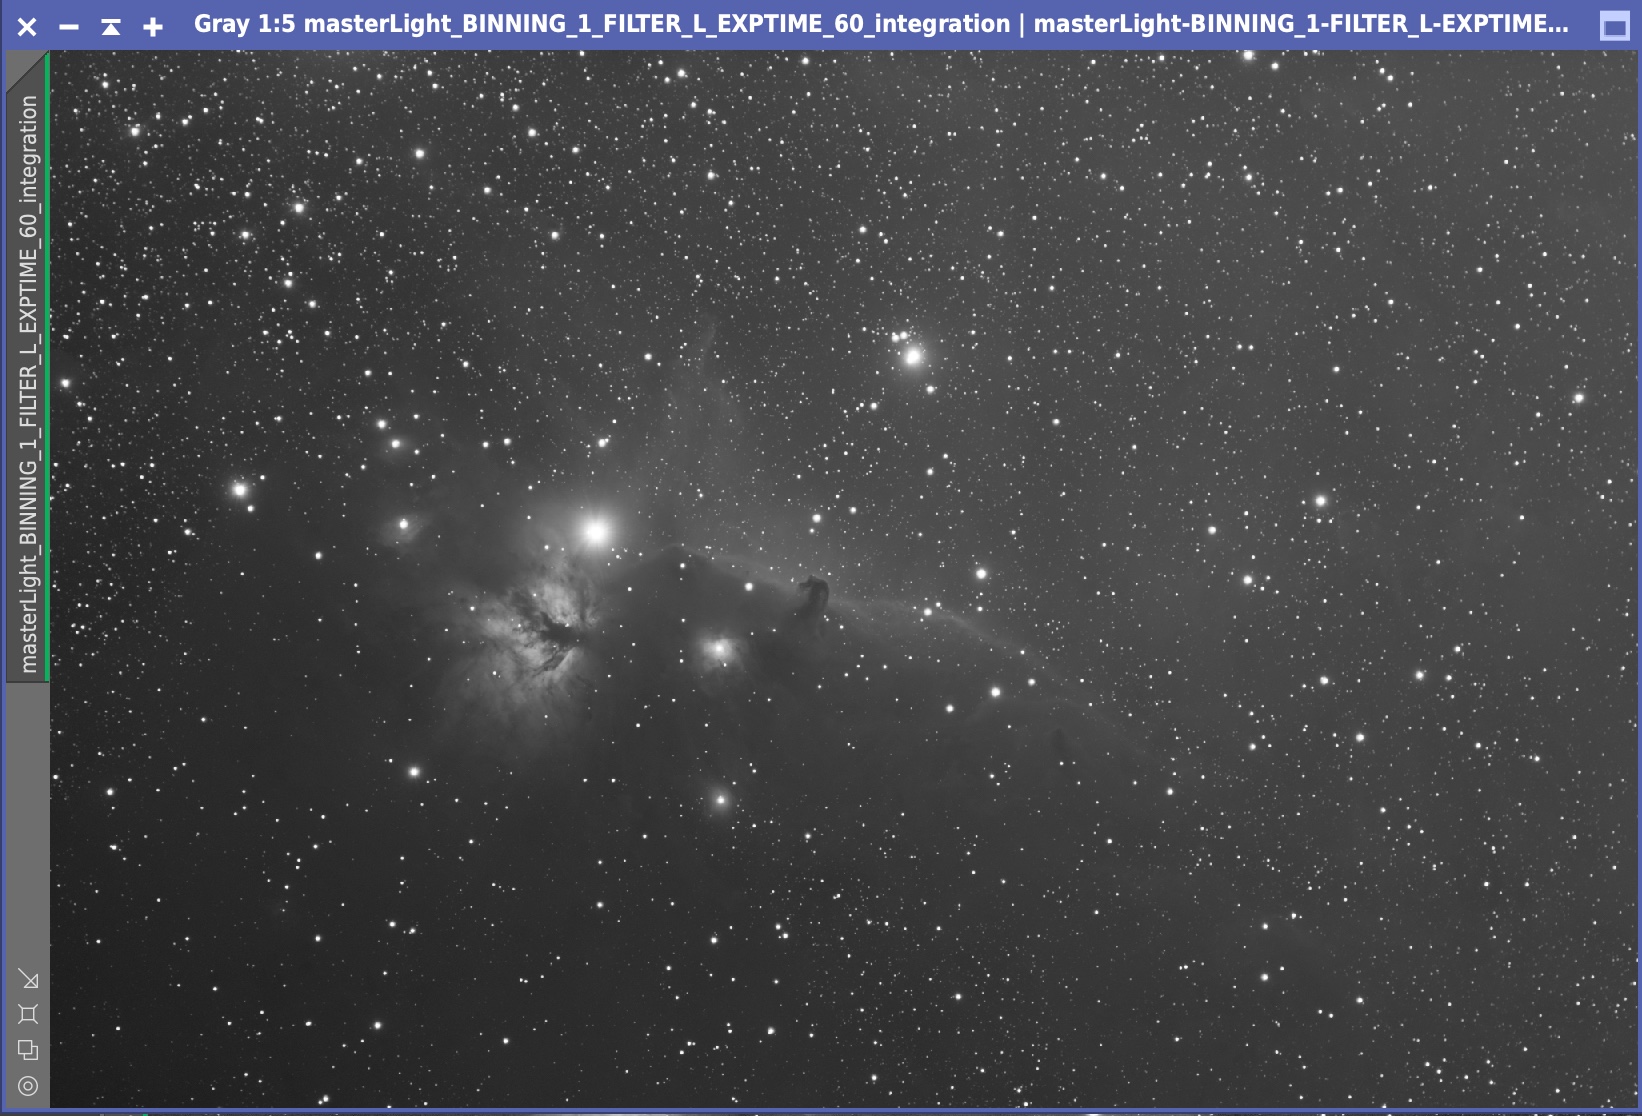
There is a bias in brightness from the lower left to the upper right. When I ABE’d this, I still ended up with an uneven doughnut shape.
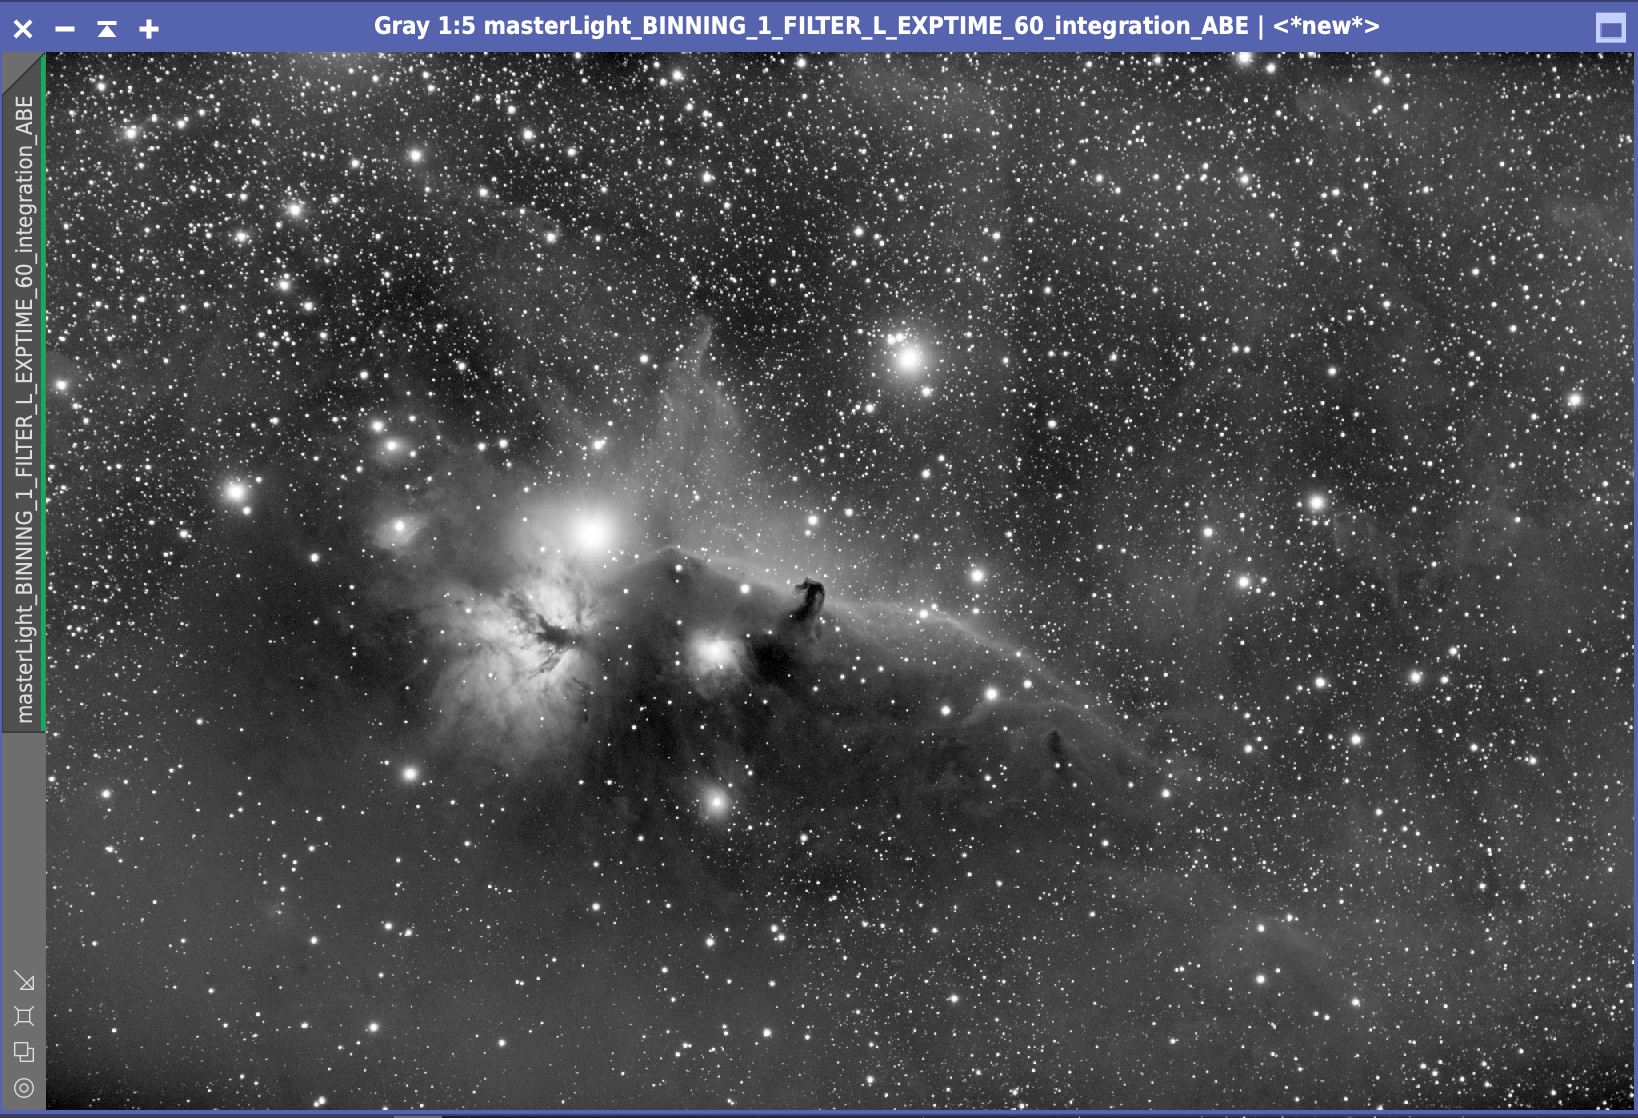
To avoid this, I set Function Degree to 1.
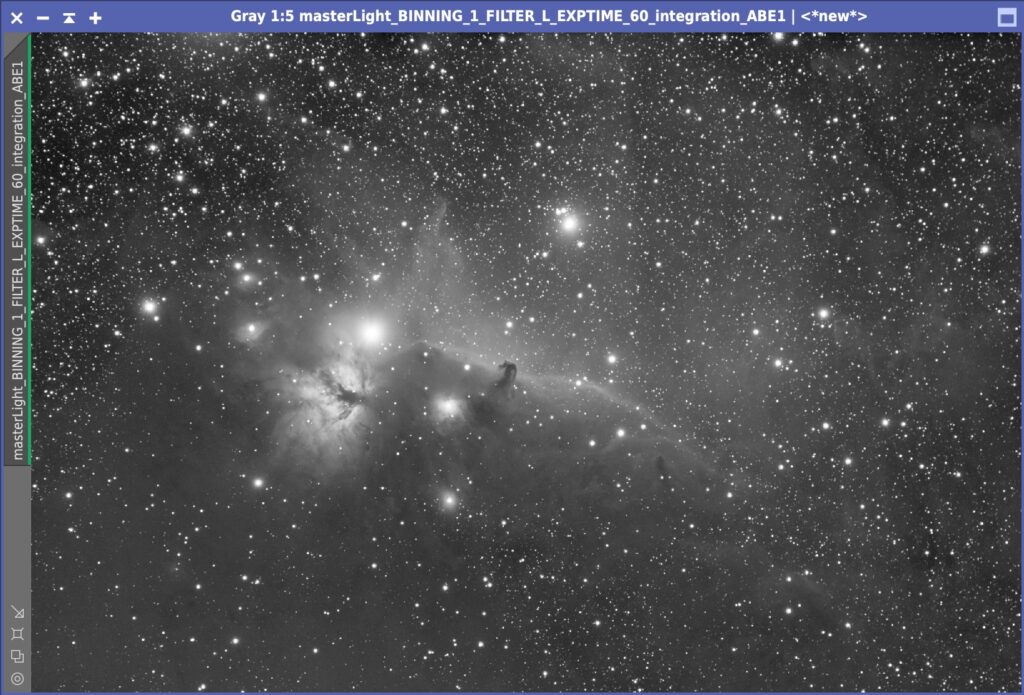
Then it improves. However, I am concerned that the background may still be covered. So I will try using the DBE with the above settings.
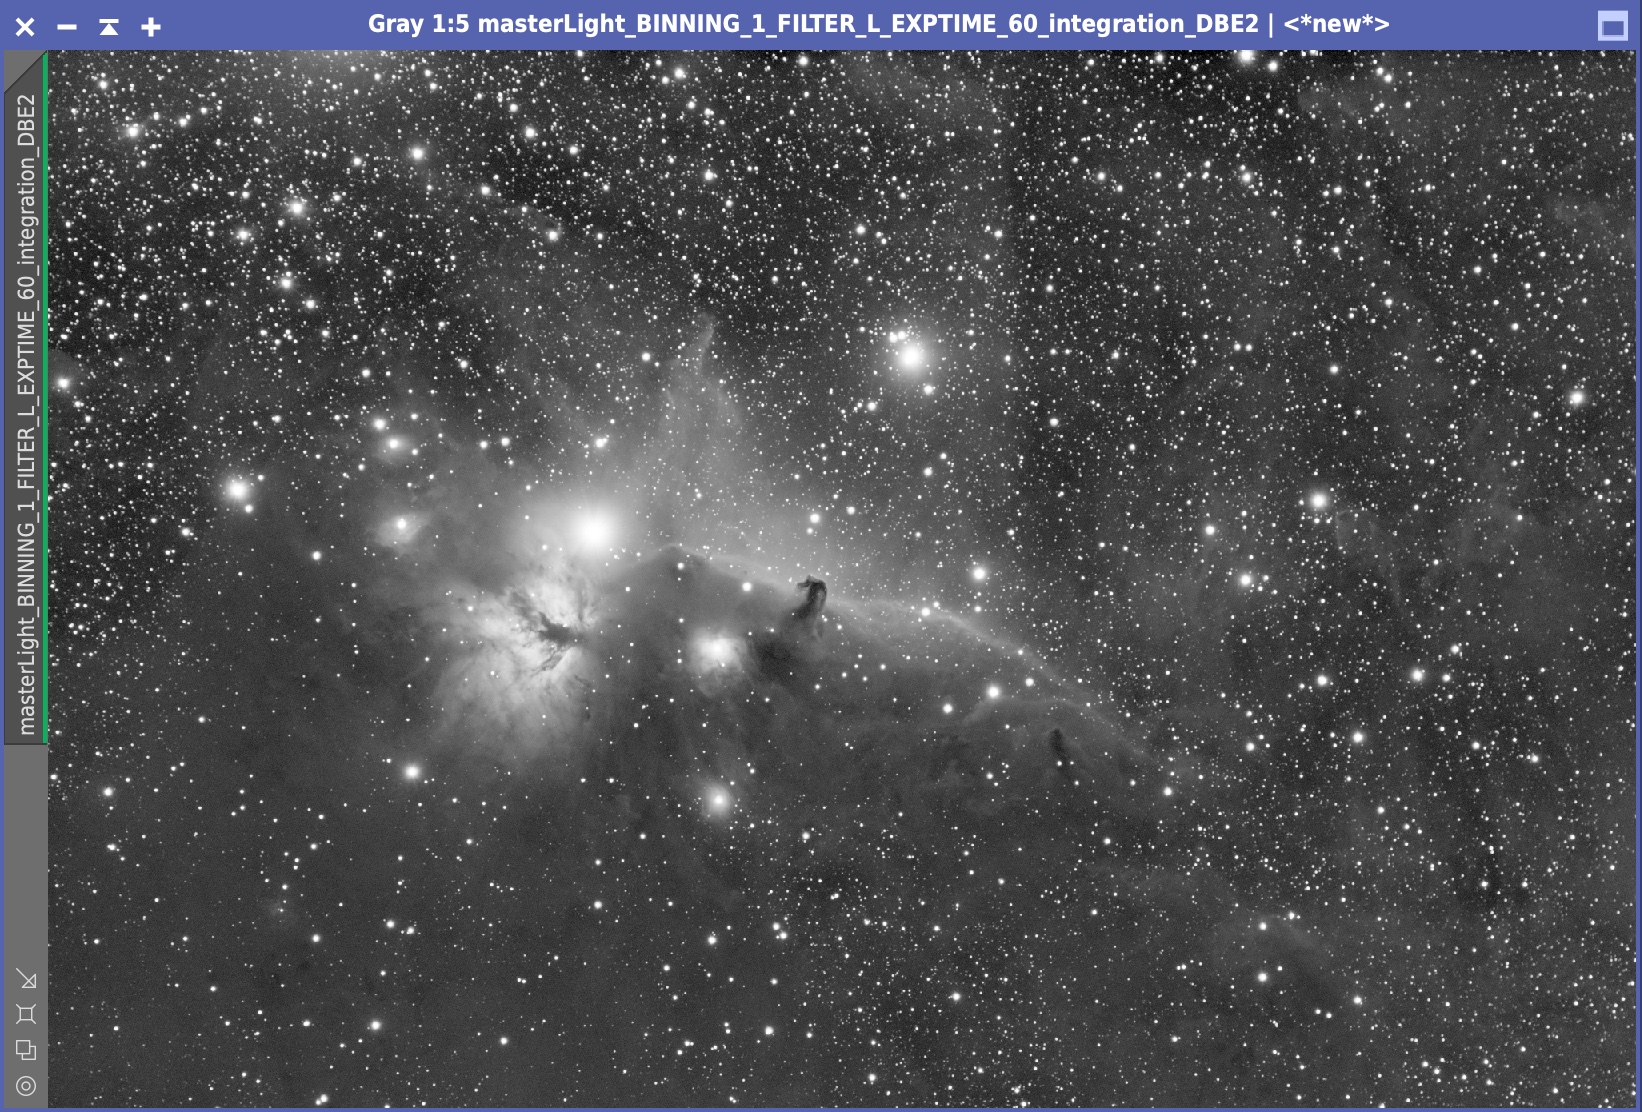
What do you think? Now that the cover has been removed, the vertical stripes that resemble the Sydney Opera House, a characteristic of the Horsehead Nebula, seem to have come into focus.
It seems that these three parameters are still valid. So what are they doing? I thought about it.
How it works – Giving a lot of information to a sample hitting point
The parameter change seems to give more information to the DBE sample hitting points.
The important parameter Tolerance sets how far away from the background midpoint pixels are allowed (we are still investigating what “background” means here). If the default Tolerance is 0.5, it allows up to 0.5 sigma in statistics. This is because many of the pixels in the sample were out of tolerance and there was not enough information in the sample to make it invalid. This time, we set Tolerance to 5 at once, which means that almost all pixels inside the sample will be tolerated.
For example, let’s try it with the following DBE sample. In this sample, there are stars in the background. The black area is the star, and Tolerance is still at the default value of 0.5.
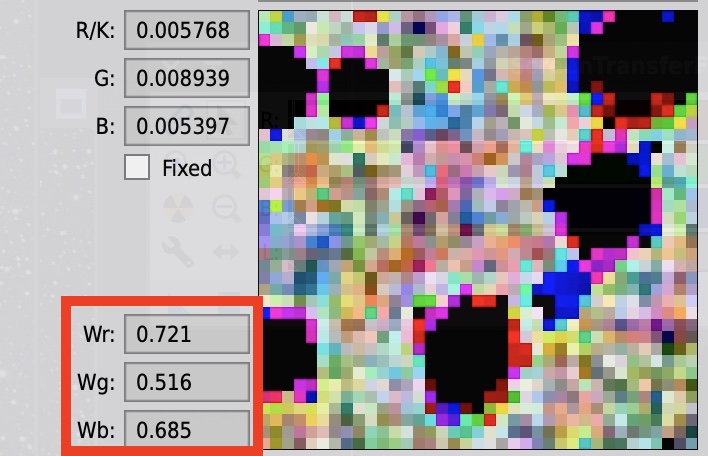
When Tolerance is 0.5, the RGB weighted evaluation of Wr, Wg, and Wb are 0.721, 0.516, and 0.685, respectively. Now let’s set Tolerance to 5.0.
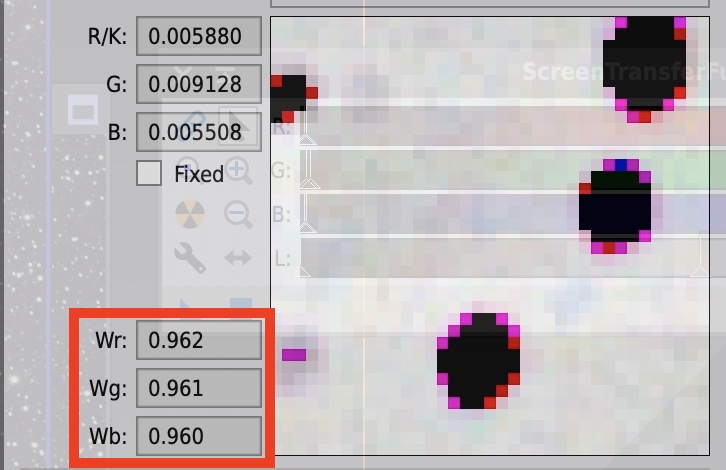
Then Wr, Wg, and Wb are all close to 0.96 at once, indicating that most of the sample data, including stars, are used. Thus, increasing the value of Tolerance, a wider range of pixels will be used.
Default Sample Radius is the size of the sample. By setting the size of one side from 5 to 18, you will get almost 13 times more data in terms of area. The larger the value, the larger the area will be cropped, so you can reduce the size of faint stars.
Smooth Factor specifies the smoothness of the background model, which can be harmful if it is too large.
Notes on hitting points
Tolerance is a mechanism to prevent bright objects such as stars and nebulae from entering the background. This time, however, the Tolerance is set to 5, which means that even if stars or nebulae appear in the sample selected as the background, they will be selected. Therefore, it is necessary to check each sample one by one to make sure that no stars, nebulae, or galaxies are mixed in.
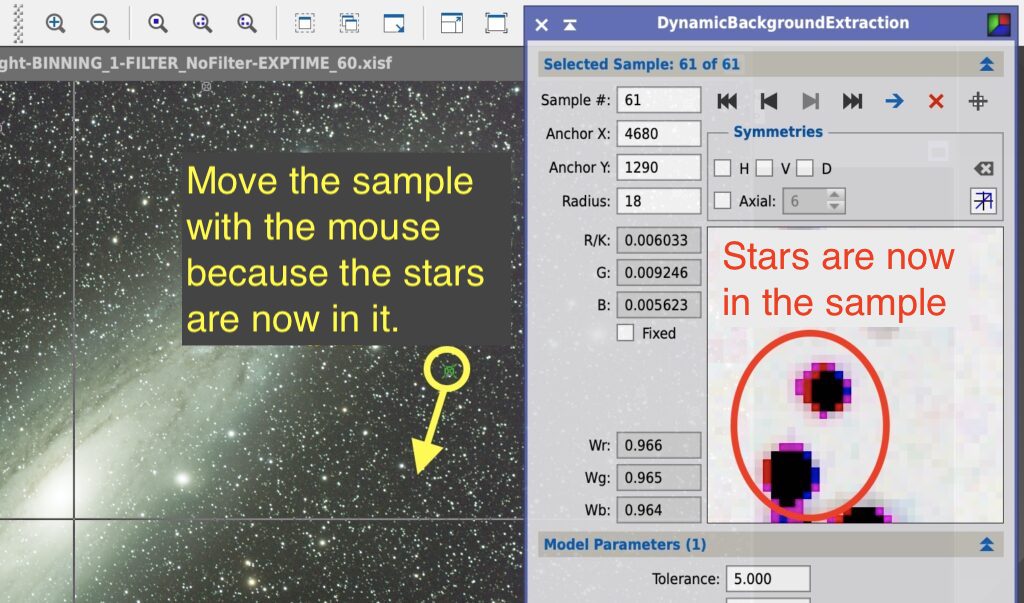
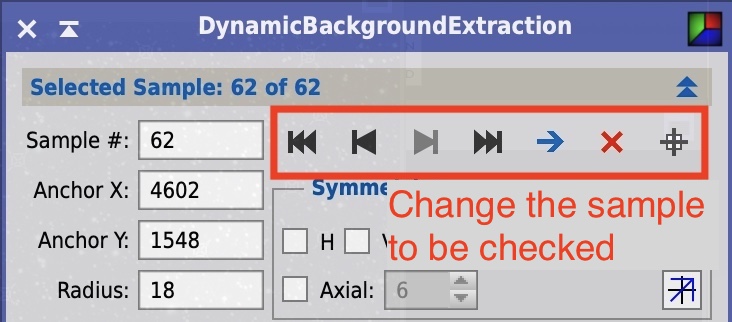
Bright pixels will appear darker in the upper right image. For example, stars will be black. If a star is included like this, move the sample position with the mouse (you can move the sample position!). ). You can also change the selected sample (first time I’ve used this!). It is also useful to use the Change selected sample (first time I’ve used it!) to check if there is anything other than the background mixed in with the sample.
Check the result of the DBE run, and if there is a problem with the background image, make a new strike, move or delete the sample strike, and then run the DBE again. By repeating this process, you can get a high quality background.
Getting a flat background is the basis of astrophotography. I’ve struggled mightily with this so far, but I think I can take a step forward with this one!
I feel that the default values of the parameters are based on the assumption of a sky with good conditions. I got the impression from the PCC accident investigation committee that this was the case. If the sky conditions were good this time, there would have been little unevenness in the sky background and Tolerance=0.5 would have been sufficient. Unlike many countries where you can go to a dark place within an hour away from a city, Japan is densely populated and the light of the next city comes quickly even if you go far away. If the theory is correct, then the default values cannot be used as they are. I thought that the key to using PixInsight in countries with bright skies is to find effective parameters. The road ahead is long…